

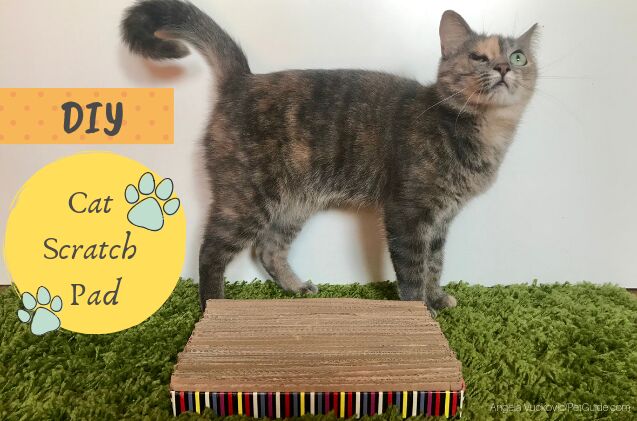
DIY Cat Scratch Pad
If you’re a cat parent, chances are you’re spending a lot of money on toys. I know I’m a sucker for every new feather teaser, catnip mouse or scratcher I happen to see at the pet store. In most cases, though, my cats simply ignore the overpriced toys and focus on stuff they shouldn’t have- e.g. my plants or craft supplies. However, when it comes to cat attention snatchers, you can’t beat plain ol’ cardboard boxes. Seriously, it’s like there’s something magical about corrugated cardboard because every single cat seems enchanted with it. So, instead of spending money on pre-made cardboard cat scratchers for your feline friend, why not make your own- at no cost?
This simple DIY project won’t take much of your time and can be done with simple things you already have lying around your home. And the best part is, cats love it!
*corrugated cardboard from an old box
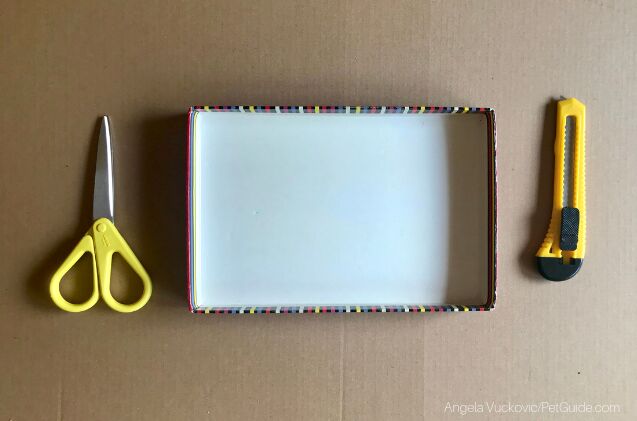
*shoe box top or the bottom of the cardboard box you’ll use
*scalpel or scissors
Optional
*catnip
*twine or duct tape
*decorative paper
- Use a shoe box top or the bottom of a cardboard box as your base. If you have a kitten (or a rabbit- these works great for bunnies as well!) you can use the shoe box top, but I recommend something bigger for adult cats.
- Measure out the height of your base’s sides. This will be the width of the cardboard strips. The length of the base (longer side) will be the length of the strips.
- Cut out cardboard strips- you’ll need a lot of them to fill the base. It needs to be really tight and the strips shouldn’t be loose.
- If your cat is an aggressive scratcher, you can reinforce the strips with tape or twine. Either tape around the strips (one layer around all of them pressed together) or pierce holes on the bottom and top of them to pull the twine through all of the strips. Tie knots on the sides to keep the strips tight.
- Voila! Less than an hour of your time and you have a cat scratching pad for free. To finish things off, you can use decorative paper if you want to cover the base. Oh, and a “pro” tip: sprinkle with catnip for some additional appeal!

A proud mama to seven dogs and ten cats, Angela spends her days writing for her fellow pet parents and pampering her furballs, all of whom are rescues. When she's not gushing over her adorable cats or playing with her dogs, she can be found curled up with a good fantasy book.
More by Angela Vuckovic